 Posted by Aimee Cozza on March 30th, 2021
While creating graphics using Canva, we kept running into one continual problem: there was no easy way to provide a drop shadow to basic elements like squares and circles. Canva’s built in features were lacking (and sometimes created poor looking drop shadows). While normally Canva can do a lot, and has a lot of flexibility for on-the-go graphics creation and image editing, we found this lack of feature particularly frustrating. The solution, however, is rather simple, and we’d like to provide that solution to you as well.
Canva’s Limitations
It’s worth noting that right now as of writing this, Canva doesn’t have a great way to add drop shadows to elements. While it’d be nice to have a drop shadow feature like Photoshop, where you can add it to virtually any element, transparency or not, at this time it is without. This means we have to make do with Canva’s layering system, and use some graphical elements instead to “fake” the effect.
Our Own Limitations
We can’t create a drop shadow for everything, unfortunately. That means we’ve got a small handful of shapes and styles in the download link. We provide a circle, oval, square, rectangle, and long rectangle, which should cover most of your needs. However, we can’t provide a shadow for every single shape of star or starburst or dialogue bubble, so just do your best to mix and match.
The Video Tutorial
Step 1: Download the Graphics Pack
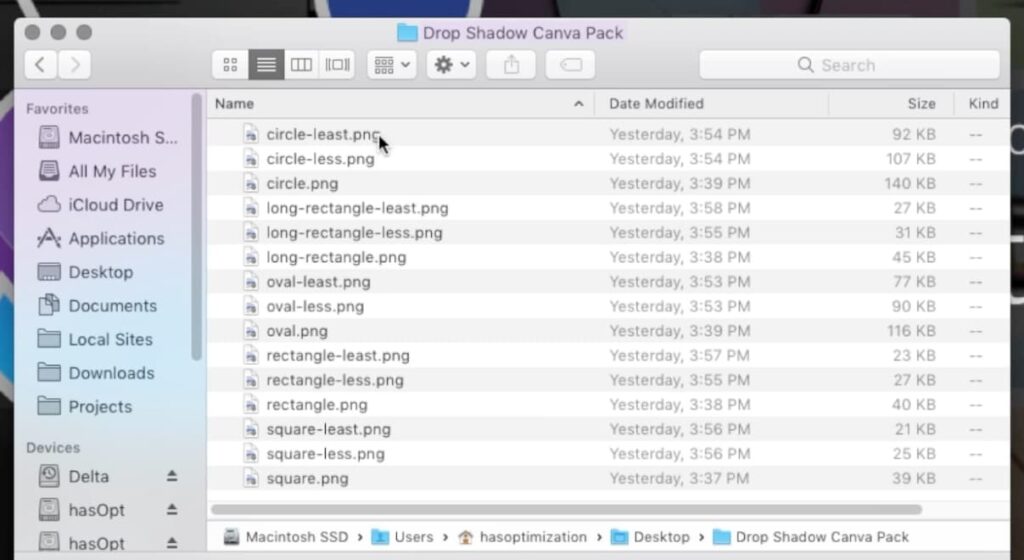
Start by downloading the graphics pack using this link. Unzip the pack, and you’ll see basic shapes like squares, rectangles, and circles. Once you have these shapes, it’s very easy to add drop shadows to your Canva project.
Step 2: Open and load the Graphics Pack into Canva

First, open Canva and open up your project, or start a new one. For our project in the video, we just wanted to add a drop shadow to a square shape. With your project open, import all of the drop shadow elements we’ve provided to you in the graphics set.
Step 3: Size, Shape, and Placement
Once they’ve uploaded, find the element that is closest to the shape of your element. Use your arrow to size the shape up or down as necessary.
Step 4: Send to Back
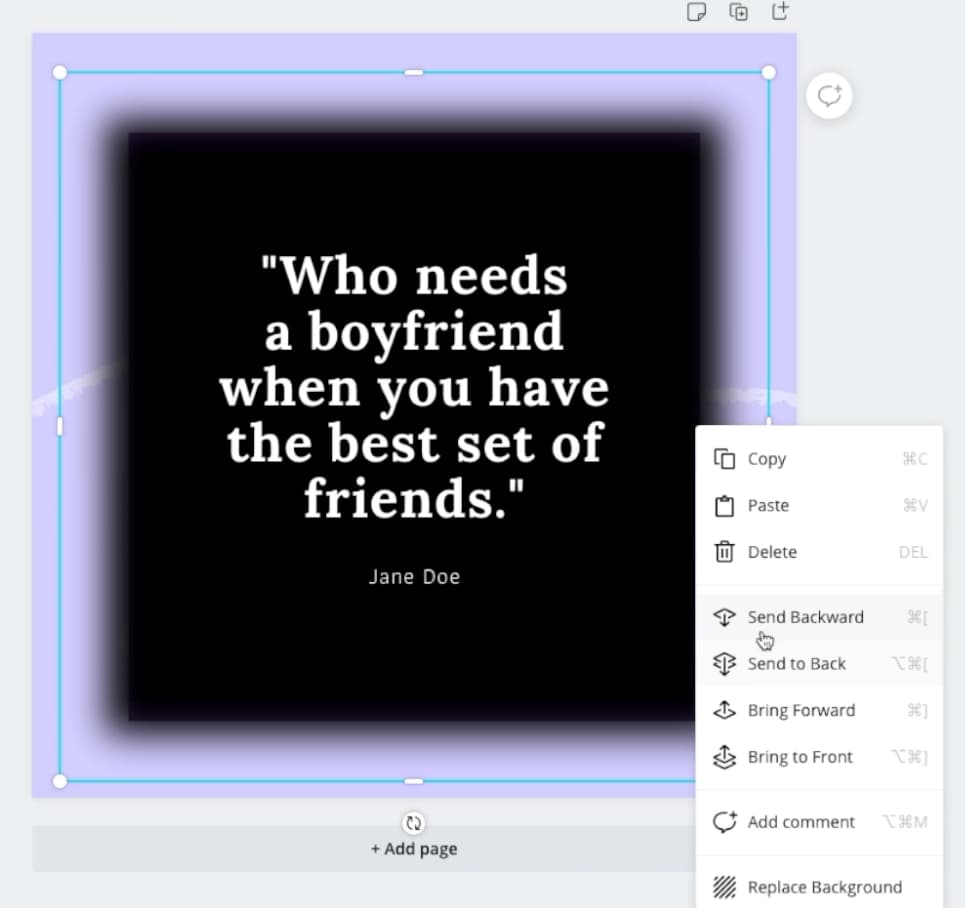
Here’s the important step – right click over the shadow element (control click on Mac), and click “send backward”. You may have to do this a few times to get it into the right place, then move it and nudge it so that it fits underneath the element.
Step 5: Opacity

If your shadow is a little dark, you can use the opacity slider to lighten it up.
Step 6: Final Touches
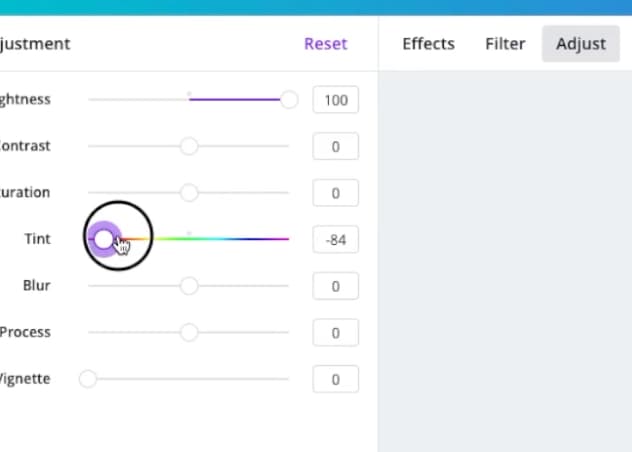
That’s it! With your shadow perfectly in place, you can then move it around to make it look more lifted, rotate it, or shift it to other sides. You can also use Canva’s built in color correction features to change the color of it.
We hope this drop shadow pack helps you create your very best Canva creations. Remember you can grab the pack by following this link.
Got a question? Drop us a line in the comments and we’ll be sure to do our best to help you out.


